Erde PM310 Motorcycle Trailer Assembly Instructions
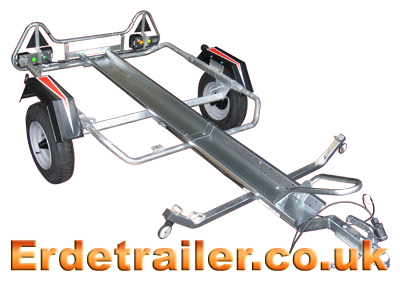
We find that some people have problems following the instructions Erde supply with their trailers. To make this easier we have put together our own illustrated instructions for assembling Erde trailers.
Tools needed:
10mm spanner/socket.
13mm spanner/socket.
17mm spanner/socket.
Flat-head screwdriver.
Socket extension.
Things to remember:
Do not tighten bolts until they are all correctly fitted.
Click on a number to quickly jump to a step.
1. Start by fixing the axle to the frame of the trailer.
2. Attach the drawbar to the axle.
3. Attach the drawbar to the frame.
4. Mount the wheels on the axle.
5. Turn the trailer the correct way up.
6. Attach the crossbar.
7. Bolt the mudguards to the frame.
8. Assemble the motorcycle rail.
9. Fit the rear light bar.
10. Prepare the spare wheel holder.
11. Tighten all Bolts.
Please note: Due to vibration bolts can rattle loose, all bolts MUST be checked after 60 miles.
It is also recommended to check lights, couplings, wheels, and wheel bearings BEFORE every long journey.
1. Start by fixing the axle to the frame of the trailer.
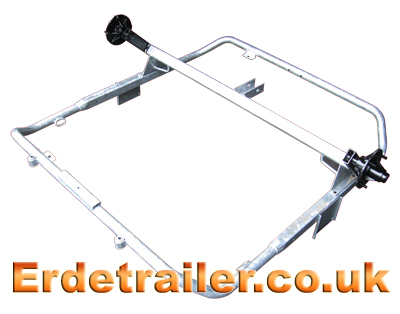
There are pre-drilled holes on each side of the floor pan where the axle mounts. Remember to use washers and nylock nuts before tightening all four bolts with a 17mm spanner and socket. The two round brackets with rubber bushes are used to attach the light bar and should face the rear of the trailer.
2. Attach the drawbar to the axle.
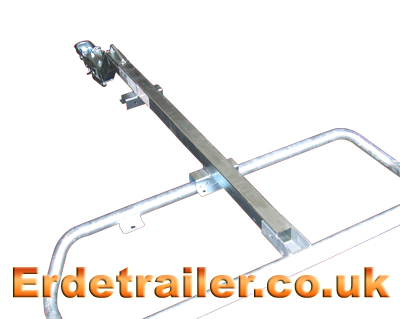
Thread the two coloured wires through the drawbar before slotting it into the centre support of the axle. The large bolt from the end of the drawbar passes through both the drawbar and axle, and is secured with a washer and nylock nut. You will need a 17mm spanner and socket to tighten this.
3. Attach the drawbar to the frame.
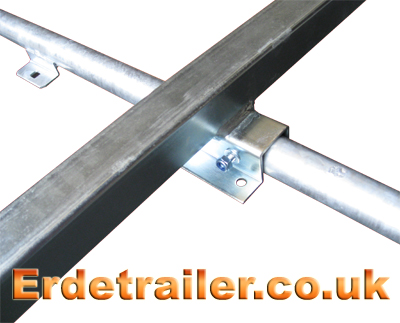
After you have bolted the drawbar to the axle, you will notice that one of the two brackets fixed to the drawbar will slot over the frame of the trailer. Secure this bracket with two bolts, washers and nylock nuts.
4. Mount the wheels.
Remember that the rounded ends of the wheel nuts must face into the recesses in the rims. You will not be able to tighten the wheel nuts properly if they are fitted facing outwards.
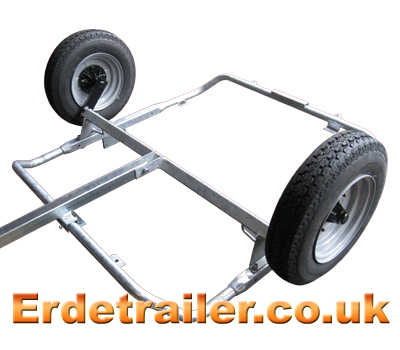
5. Turn the trailer over so it stands the correct way up.
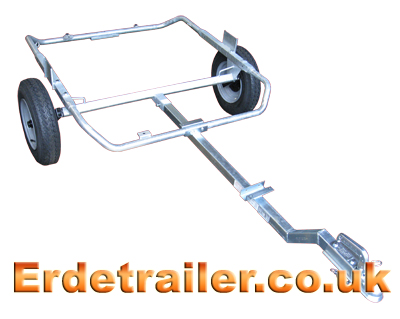
This may take two people to safely lift it.
6. Attach the crossbar.
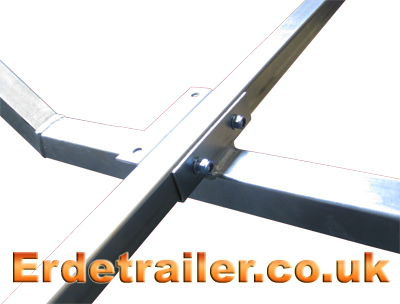
On the drawbar, at the end closest to the coupling, you should see another bracket similar to the one that you bolted to the frame. Slot the crossbar into this bracket and bolt it in place. The lashing rings should be facing upwards, while the reflectors should hang underneath the crossbar facing forwards.
7. Bolt the mudguards to the frame.
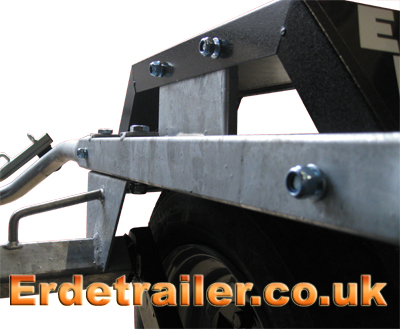
Four bolts with nylock nuts secure each mudguard to the frame. It is important to use washers again here, this will prevent the bolt heads from pulling through the holes in the mudguards.
8. Assemble the motorcycle rail.
The motorcycle rail is made up of three separate pieces. When assembling, it is easiest to start at the rear of the trailer and work your way forward.
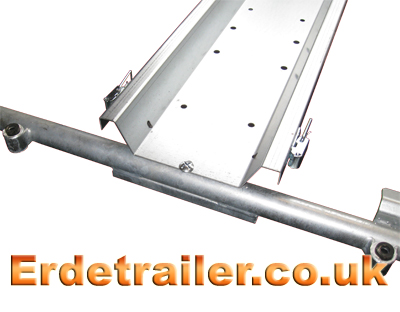
The rear section of the rail can be identified easily by the two latches on either side. These latches are used to hold the trailer’s tailgate shut, and therefore must face the rear of the trailer. Position this section of the rail on the trailer and secure it in place with a single dome headed screw. Do not completely tighten this screw at this time.
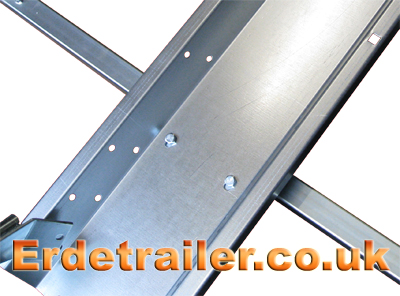
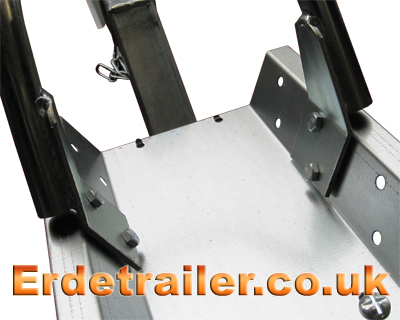
The front section of the motorcycle rail has twelve holes along its sides at one end. This end of the rail must be facing towards the front of the trailer as this is where you attach the wheel hoop. Secure this end of the rail with two bolts and nylock nuts.
The wheel hoop can be bolted to the rail using any of the pre-drilled holes at the front. Mount it where it best suits the length of your motorcycle.
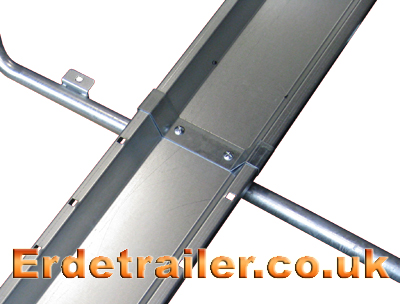
Both sections of the rail are clamped in the middle by a small plate and two more dome headed screws.
9. Fit the rear light bar.
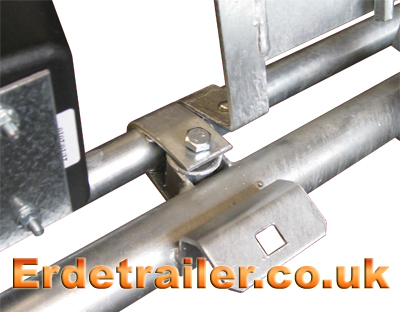
At the rear of the trailer are two small brackets with rubber bushes, this where the light bar fixes to the frame. Bolt the light bar to the frame as shown below.
10. Prepare the spare wheel holder.
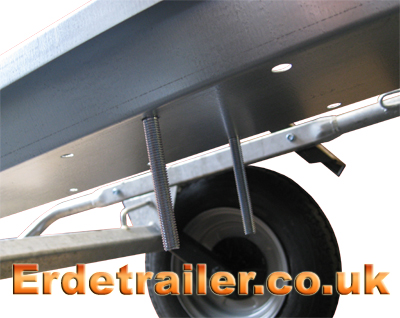
The PM310 comes with a simple spare wheel holder as standard. On the base of the motorcycle rail, just behind the axle are six holes. Any pair of these holes can be used to mount the spare wheel as they are all 115mm apart (the same distance as the PCD of this trailers wheels). Slot the two longest dome head bolts through the rail as shown below, and simply bolt your spare wheel to them.
11. Tighten all bolts.

Now the trailer is complete all of the nuts and bolts will need tightening. Work your way around the trailer tightening every nut and bolt, taking extra care not to miss any.
Again, remember to perform a thorough check of all nuts, bolts, wheels, bearings and lights after the first 60 miles. Vibrations can cause slackening of nuts and bolts in new trailers, so it is very important you perform this check.
For a large selection of Erde trailers and accessories please visit our main website:
