Load bar fitting guide for an Erde hard-top cover
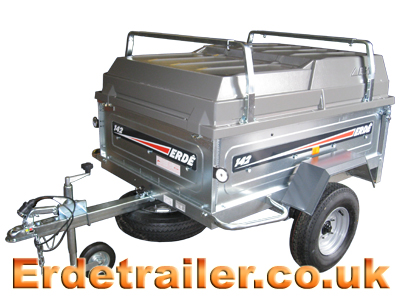
Here is a guide to fitting load bars on a hard-top cover for an Erde trailer.
First of all you will have to reinforce the body panels of your trailer so they can handle the extra weight. The example we are using is an Erde 142, please be aware that this process may vary slightly from trailer to trailer.
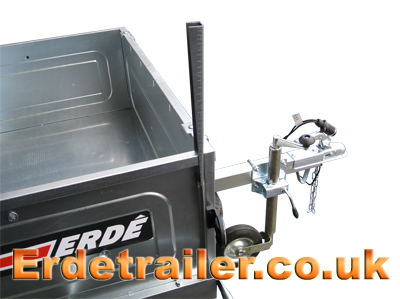
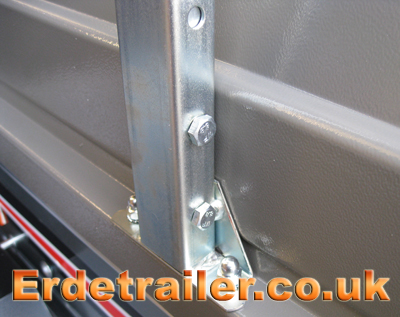
On an Erde 142 you will have to remove the two bolts from each side of the front panel that fasten it to the side panels. When they have been removed, insert this reinforcement bar between the two panels. This will be a tight fit, but the bar should reach all the way down to the bed of the trailer. See the example below.
When you have this bar is position you will need to repeat this process on the other side of the trailer. When both reinforcement bars are in place, replace the four bolts removed from the front panel.
*Important* If you are fitting load bars directly to your trailer and are not using a hard-top cover, there is no need to modify any fittings or drill any holes. In this instance the load bars base fittings will clamp over the lip of the side panels.
When mounting load bar base fittings to a hard-top cover, it is easier to start at the rear of your trailer. This is because the front fittings will require some modifications if being installed to an Erde 142 model trailer or higher.
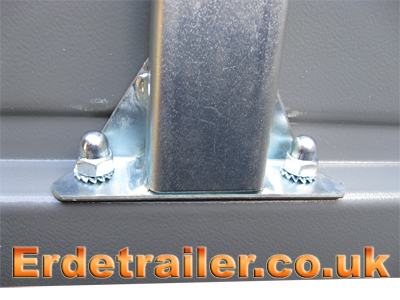
The frame of the hard-top cover has pre-drilled holes ready for a set of load bars. You will have to drill through the ABS plastic of the cover though, as this does not come pre-drilled. This is so the cover remains waterproof for those who don’t want load bars. The easiest way of drilling these holes is to drill through the holes in the frame and out through the plastic. This way you will know that you are drilling in the correct place.
When fitting the front load bar to a hard-top cover for a 142 trailer model or higher, you will need to re-position it if you wish to fit cycle carriers. This is due to the location of the pre-drilled holes in the cover. Using the original holes for the front load bar causes the frame clamp of the cycle carrier to be mounted too far forward, as a result your bicycle’s front wheel will overhang the rail of the carrier.
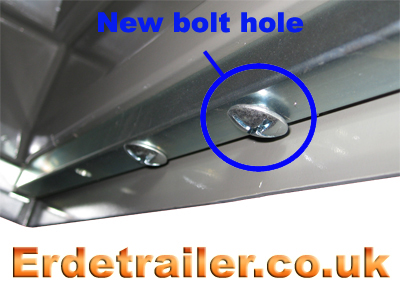
To fix this you will have to move the front load bar back slightly so it is only using one of the original bolt holes. A new hole will need drilling through the frame further back so you can fully attach the load bar. See the example below.
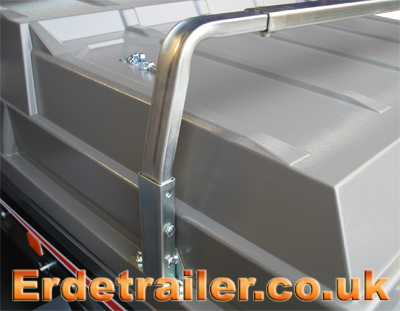
Now all of the base fittings are in place you can slot the two halves of each load bar together and mount them in their bases.
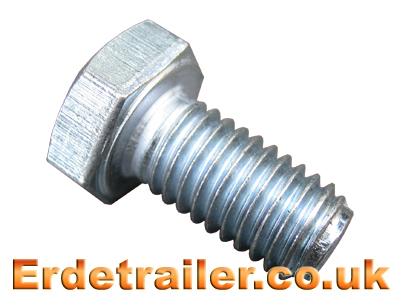
When the load bars are in place, bolt them into their bases.
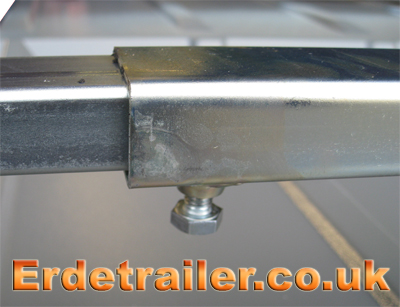
This bolt locks the two halves of the load bar together, leave this loose until you have both ends of the load bar in place.
Tighten the bolt here when both ends of the load bar have been fixed into their bases.
Load bars improve the versatility of your trailer by giving you a platform to mount additional accessories such as bicycle rails or roof boxes. Goods can also be transported on the load bars as long as they are properly secured you are not exceeding the bars maximum weight of 75kg. Please be aware of your trailers maximum gross weight when loading additional items on to load bars and roof boxes.
To purchase Erde trailer accessories, including load bars, please visit our website – towingandtrailers.co.uk
