Erde 234x4F trailer assembly instructions
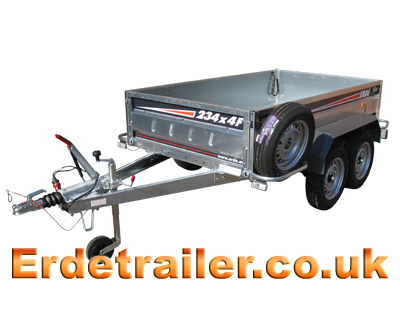
We find that some people have problems following the instructions Erde supply with their trailers. To make this easier we have put together our own illustrated instructions for assembling Erde trailers.
Tools needed:
10mm spanner/socket.
13mm spanner/socket.
17mm spanner/socket.
Flat-head screwdriver.
Socket extension.
Things to remember:
Do not fully tighten any body panel bolts until all side panels and mudguards are correctly fitted. This is because you may need the extra slack in order to correctly position some parts.
Most nuts are captive nuts to speed up assembly.
Click on a number to quickly jump to a step.
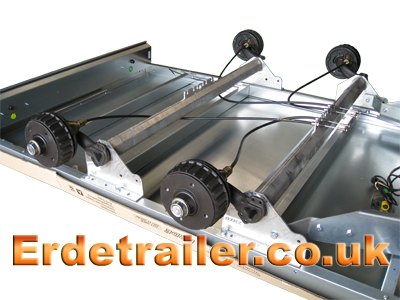
1. Start with the floor pan upside down. Fit the side reinforcement bars and axles.
2. Attach the brake cables.
3. Attach the drawbar to the front axle.
4. Fix the drawbar to the floor pan.
5. Fasten the light bar to the floor pan.
6. Attach the cables to the lights.
7. Fit the wheels.
8. Tighten all bolts underneath the trailer.
9. Turn the trailer the correct way up.
10. Fit a side panel.
11. Fit the other side panel.
12. Fit the front panel.
13. Fit the rear nudge bars and tailgate.
14. Fit the mudguards.
15. Fit the front ‘nudge’ bars.
16. Mount the braked coupling and set up the brakes.
17. Tighten all Bolts.
Please note: Due to vibration bolts can rattle loose, all bolts MUST be checked after 60 miles.
It is also recommended to check lights, couplings, wheels, and wheel bearings BEFORE every long journey.
1. Start with the floor pan upside down. Fit the side reinforcement bars and axles.
Before you can mount the axles you must check that the reinforcement bars are in place. These should already be in position, if not, they must be pushed into each side of the floor pan where the captive nuts in the reinforcement bars will line up with the bolt holes in the floor pan. These captive nuts will be used to fix the axles to the floor pan.
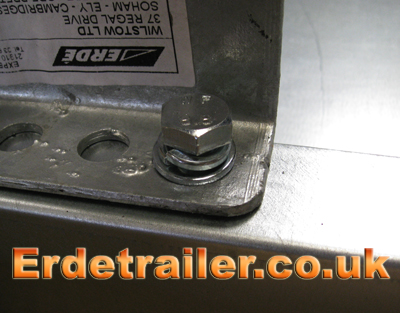
Now you can fix the axles to the floor pan. Each axle will have four bolts holding it to the floor pan, two with captive nuts, and two with nylock nuts. Be sure to tighten all of the axle bolts fully at this stage as the trailer will be too heavy to turn back over later.
A spring washer should be used on each axle bolt to prevent them from vibrating loose.
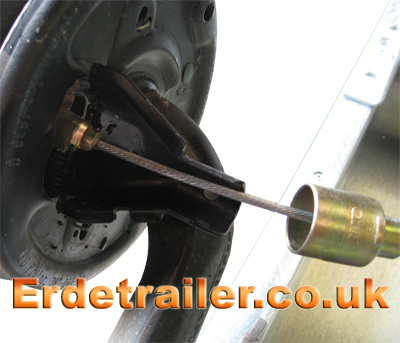
2. Attach the brake cables.
After bolting the axles to the floor pan you can begin to set up the trailers brakes. Start by locating the end of the brake cable with a small black stud. This stud will need to be inserted into an eye inside the brake’s expander that should be visible through a small slot in the back plate of the brake. See the example below.
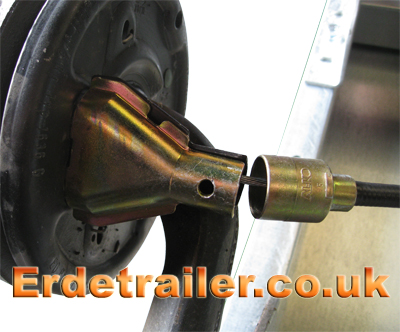
After you have this stud seated in the brake’s expander, you must keep some tension on the cable to prevent it from falling back out. Now insert the cable cover plate. See the example below.
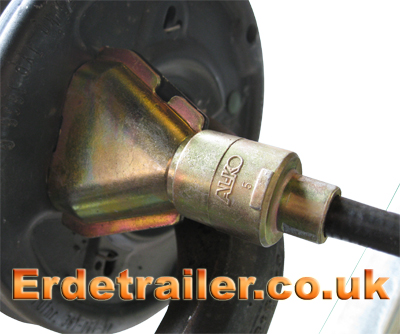
When the cover plate is in place, slide the metal connector from the end of the cable’s sheath over both the cover plate you fitted and the fixed one that was already in place. See the example below.
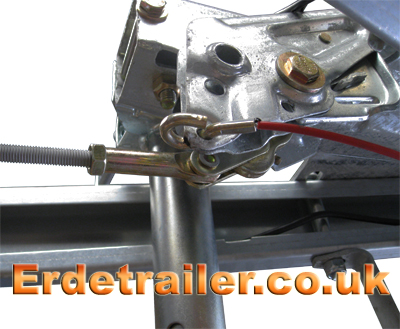
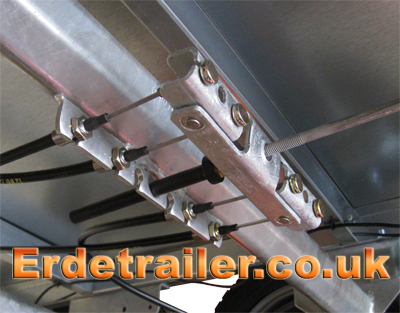
Now you can fix the other ends of the brake cables to the anchor plate of the front axle. It is possible to cross cables over to take up slack in them if you feel it is necessary, but if you do, you must make sure that the cables are evenly matched on both sides of the trailer. If you position your cables unevenly you may end up with uneven braking efficiency. The example below is the most straight forward way anchoring these cables.
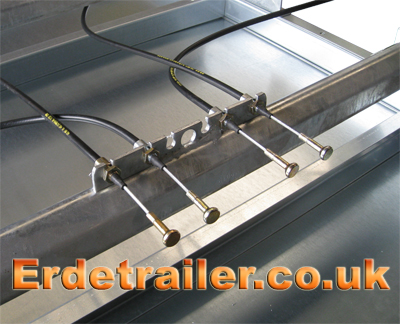
3. Attach the drawbar to the front axle.
First you will need to open up the drawbar. Connect one side of the drawbar to the axle before opening it so that you have something to pull against, this should make it easier.
When the A-frame drawbar has been opened up, bolt the end you were pulling on to the opposite side of the axle.
Remember to thread the two coloured wires through the drawbar making sure you leave enough slack to reach the light bar.
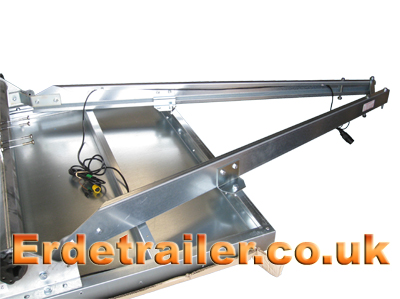
4. Fix the drawbar to the floor pan.
Using the brackets found on the drawbar you must firmly bolt the drawbar to the floor pan. There is no tipping feature on Erde’s twin axle trailers.
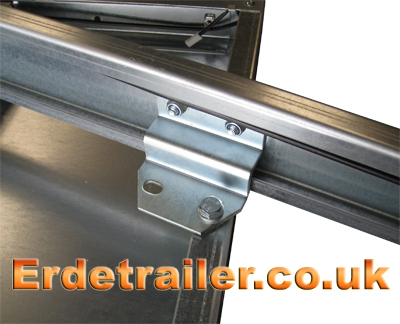
5. Fasten the rear light bar to the floor pan.
The light bar is eventually secured by the body panels, but first you must slot it under this plate. This will hold the light bar in place while you turn the trailer the correct way up to fit the body panels.
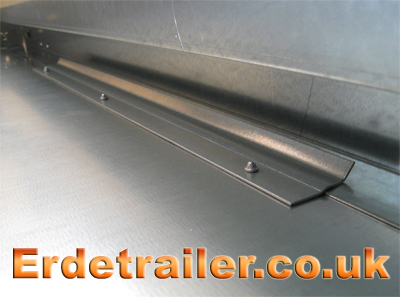
6. Attach the cables to the lights.
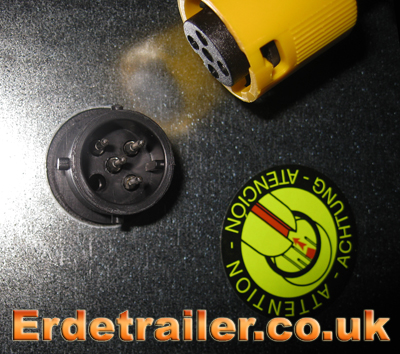
Attach the colour coded cables to the corresponding sockets on the reverse of the rear light bar. Slot the cables into the sockets and then twist the coloured sheath clockwise to lock them in place. The plugs will only slot into the sockets in one direction, so line up the pins and don’t force it. Once connected, rout the cables neatly along the inside of the drawbar using the clips provided.
7. Fit the wheels.
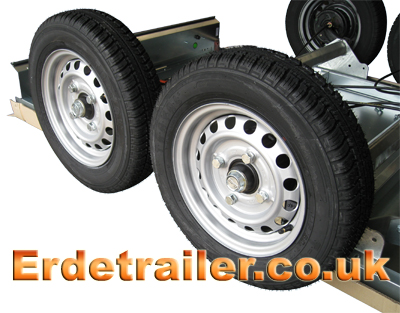
This model of trailer uses wheel studs as opposed to nuts. To tighten studs evenly you should work your way around the wheel tightening opposite bolts until you arrive at the first one again. This is the best method of tightening any wheel nut or stud as it results in even tension around the rim.
8. Tighten all bolts under the trailer.
9. Turn the trailer the correct way up. This will require at least two people.
10. Fit a side panel.
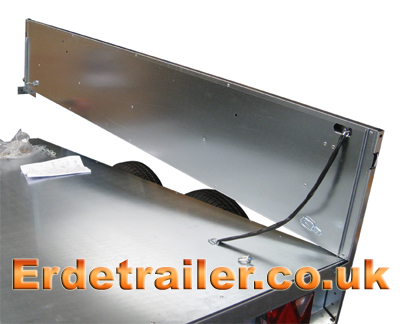
It is best to mount side panels at the back first, hooking the light bar with the rear of the panel. Now lower the front into position. When you get a side panel into the correct position insert a 13mm bolt into both ends of it and tighten them up with your fingers to hold it in place.
11. Fit the other side panel in the same way as before.
When both side panels are in place there are two 10mm bolts that secure the light bar to the rear end of both side panels. These bolts should be inserted underneath the two rear corners of the trailer and tightened up into captive nuts in the light bar. It is important to remember these as they are so small they often get forgotten.
12. Fit the front panel.
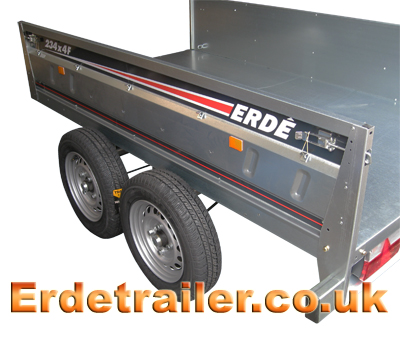
The front panel on the 234×4 is hinged and removable, making this trailer more versatile.
On each side of the front panel you will notice two small lugs. The lugs at the top of this panel slot into cut-outs in the front edge of both side panels. This forms a basic hinge. See the example below.
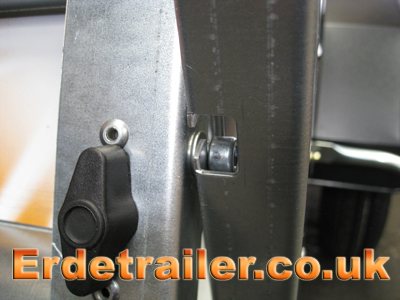
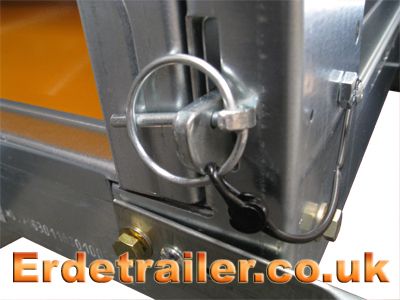
The lugs at the bottom of this panel slot into latches found at the front of each side panel. These latches can be quite stiff, so line the lugs up with the latches before firmly swinging the panel into place. These latches are then secured with lynch pins.
13. Fit the rear nudge bars and tailgate.
Before the tailgate can be fitted you must first attach hinges to the rear of you trailer. The tailgate hinges for this trailer are fixed to the rear nudge bars, therefore these will need fitting too.
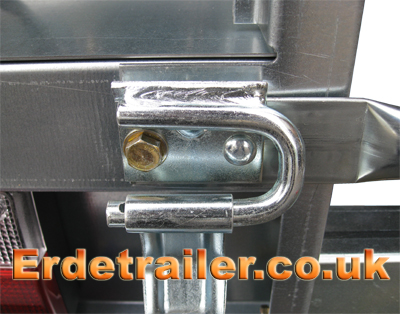
Nudge bars are fastened to the trailer with two bolts. One bolt tightens into a captive nut on the side of the trailer, the other tightens into a captive nut in the rear of the trailer. Once the nudge bars and hinges are in place, simply slot the tailgate onto its hinges and insert an R-clip into a small hole in the right hand hinge.
14. Fit the mudguards.
The mudguards mount onto pre-drilled holes in the sides of the floor pan and side panels. You can see the captive nuts positioned along the side panels, so all you have to do is simply line the mudguards up with these and bolt them on. A 13mm socket and extension is needed to reach these bolts.
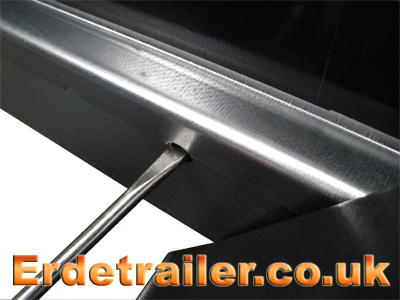
If you are having trouble with nuts and bolts not lining up, try using a screwdriver in the bolt hole to lever the panels into position. This is why bolts in the body panels should be left thumb tight until this stage.
15. Fit the front ‘nudge’ bars.
Two bolts hold each of these bars in place. One on the side…
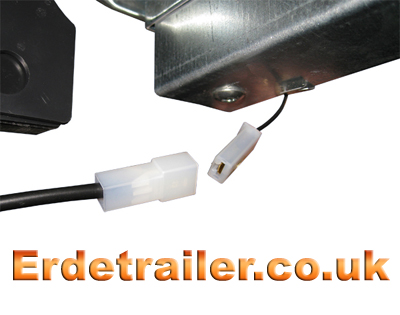
While fitting the nudge bars you will notice the front marker lights attached to them. Once the bars are in place you will need to connect the marker lights to the trailers wiring loom. Under both front corners of the trailer you will see a small electrical plug, this is where you plug them in.
16. Install the braked coupling and set up the brakes.
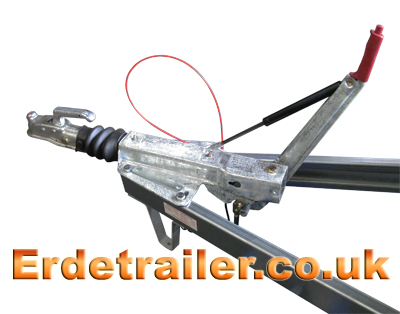
Now the trailer is almost complete you can mount the braked coupling to the A-frame drawbar. The coupling bolts to the drawbar with 4 large bolts, washers and nylock nuts.
As you begin to bolt the coupling to the drawbar, make sure that the bolts pass through the spacers on the inside of the drawbar. These spacers prevent you from crushing the drawbar when you tighten up the coupling bolts.
Once you have fixed the coupling to the drawbar you will need to connect it to the brake cables using a length of threaded bar. To do this you must screw one end of the threaded bar into the clevis at the base of the handbrake, while the other end is linked to the brake compensator.
Feed the threaded bar through the compensator and connect the ‘nipple’ ends of the cables to it as well. The threaded bar is linked to the compensator by a nut with a long plastic cover. Insert this nut into the centre hole of the anchor plate and screw it onto the threaded bar by hand until it is tight against the compensator. Tightening this against the compensator should take the slack out of the brake cables.
It is important to keep the compensator well adjusted as this will give you even braking pressure. If your compensator is not straight this usually means that you brakes have worn and they are ready for a service. Although, in a new trailer like this it is more likely that you have not correctly fitted you brake cables. If this is the case you should check them again.
17. Tighten all Bolts.
Start with the body panels and mud guards before double checking the axle and drawbar. Make sure all bolts are tight and special attention has been paid to the axles, drawbar and coupling.
Again, remember to perform a thorough check of all nuts, bolts, wheels, bearings and lights after the first 60 miles. Vibrations can cause slackening of nuts and bolts in new trailers, so it is very important you perform this check.
For a large selection of Erde trailers and accessories please visit our main website – towingandtrailers.co.uk
