Assembly instructions for an Erde 143 trailer
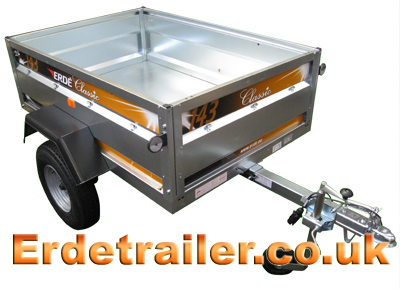
We find that some people have problems following the instructions Erde supply with their trailers. To make this easier we have put together our own illustrated instructions for assembling Erde trailers.
Tools needed:
10mm spanner/socket.
13mm spanner/socket.
17mm spanner/socket.
Flat-head screwdriver.
Socket extension.
Large punch.
Hammer.
Things to remember:
Do not fully tighten any bolts until all side panels and mudguards are correctly fitted. This is because you may need the extra slack in order to correctly position some parts.
Most nuts are captive nuts to speed up assembly.
Click on a number to quickly jump to a step.
1. Start with the floor pan upside down, fit the side reinforcement bars and axle.
2. Fit the drawbar to the axle.
3. Attach the drawbar to the floor pan using the tipping bracket.
4. Fasten the light bar to the floor pan.
5. Attach the cables to the lights.
6. Fit the wheels.
7. Thumb tighten all bolts under the trailer.
8. Turn the trailer the correct way up.
9. Fit a side panel.
10. Fit the front panel.
11. Fit the other side panel.
12. Fit the tailgate.
13. Fit the mudguards.
14. Tighten all Bolts.
15. Attach reflectors.
Please note: Due to vibration bolts can rattle loose, all bolts MUST be checked after 60 miles.
It is also recommended to check lights, couplings, wheels, and wheel bearings BEFORE every long journey.
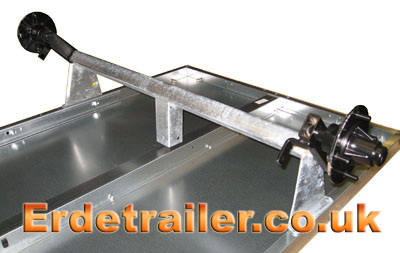
1. Start with the floor pan upside down. Fit the side reinforcement bars and axle.
Before you can mount the axle there are reinforcement bars that must be pushed into each side of the floor pan.
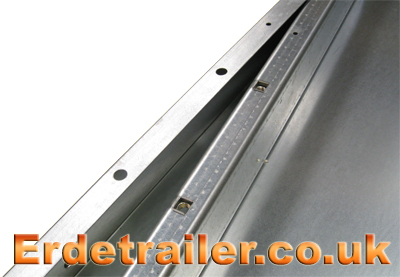
These bars also house the captive nuts used to fix the axle to the floor pan.

Now you can fit the axle to the floor pan. Do not completely tighten the axle bolts at this stage as you will need some extra slack to fit the body panels and mud guards.
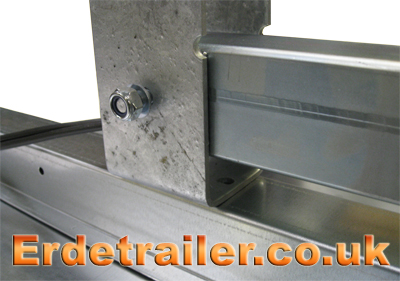
2. Fit the drawbar to the axle.
Remove the large bolt from the end of the drawbar. Thread the two colored wires through the drawbar before slotting the drawbar into the centre support of the axle. The large bolt from the drawbar passes through both parts and is secured with a lock nut. You will need a 17mm spanner and socket to tighten this.
Remember this is the pivot point for the trailers tipping feature, so don’t over tighten it.
3. Attach the drawbar to the floor pan using the tipping bracket.
The tipping bracket must be fitted to the underside of the floor pan as shown below. At the centre point of the front edge are pre-drilled holes where it mounts. A 17mm socket/spanner is required for this.
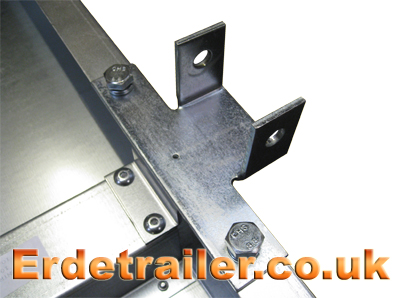
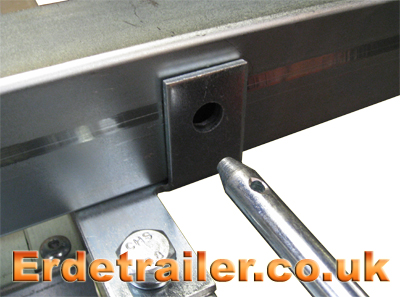
A pin through the tipping bracket holds the floor pan and drawbar together. This is secured with a split pin.
4. Fasten the rear light bar to the floor pan.
It helps to fit the rear light bar at an angle and then straiten it up when you get it into the correct position. Insert the two brass bolts secure the light bar, one on each side. It is important that these bolts are left thumb tight for now as you will need the extra slack to position the side panels.
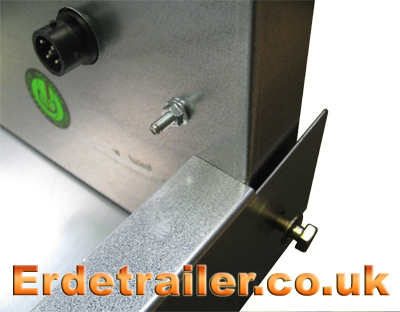
5. Attach the cables to the lights.
Attach the colour coded cables to the corresponding sockets on the reverse of the rear light bar. Slot the cables into the sockets and then twist the coloured sheath clockwise to lock it in place. The cable will only slot into the socket in one direction, so line up the pins and don’t force it.
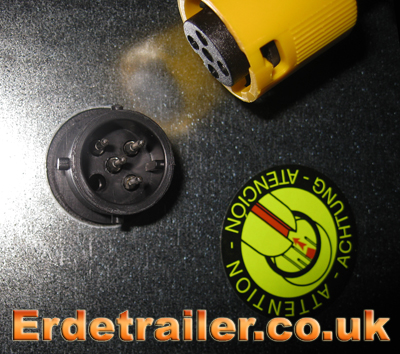
6. Fit the wheels.
On this model of trailer the wheel nuts are actually stud bolts. To tighten these bolts evenly, work your way around the wheel tightening opposite bolts until you arrive at the first bolt again.
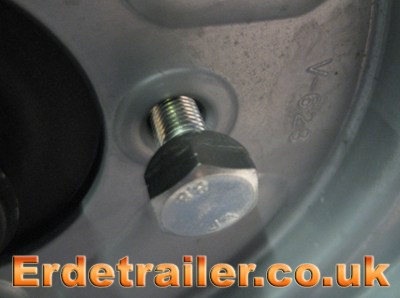
7. Thumb tighten all bolts under the trailer.
8. Turn the trailer the correct way up. This will require two people.
9. Fit a side panel.
It is best to mount side panels at the back first, and then lower the front into position. The easiest way of doing this is to locate the small stud on the rear of the side panel. There is a small hole on both sides of the light bar, one for each panel. Hook this stud into the hole before lowering the side panel into position.
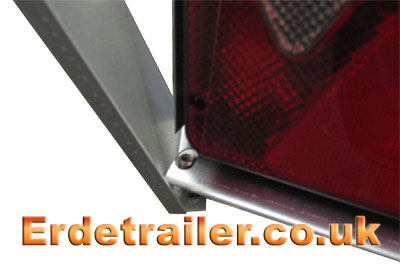
While the rear of the side panel is ‘hooked’, lower the front of the panel into position.
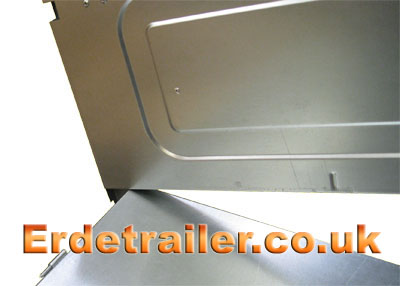
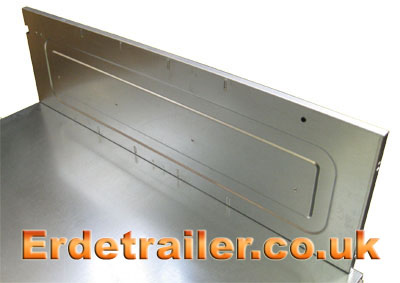
A 13mm bolt at the front and rear of the side panel will hold it in place. A smaller 10mm bolt must also be fitted underneath the rear edge where the side panel hooks into the light bar.

10. Fit the front panel.
Slot the front panel into place, do not bolt it down completely at this stage.
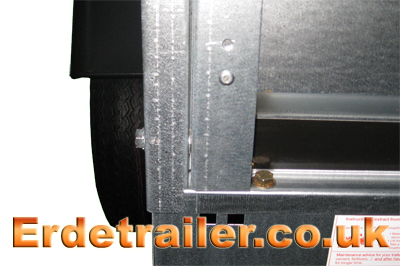
11. Fit the other side panel in the same way as before.
12. Fit the tailgate.
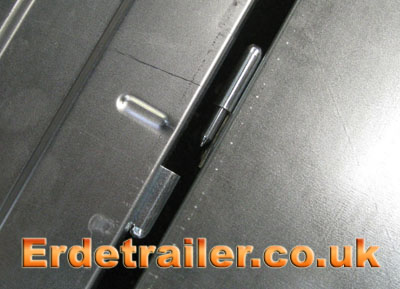
The tailgate hinge simply slides together.
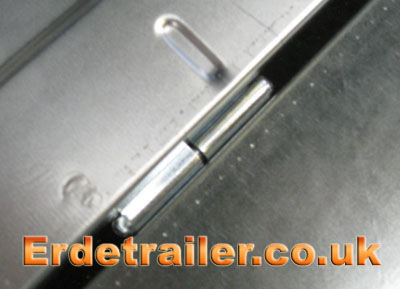
13. Fit the mudguards.
Remember to fit the mudguard reinforcement plates. These prevent bolt heads from pulling through the thin metal of the mudguards.
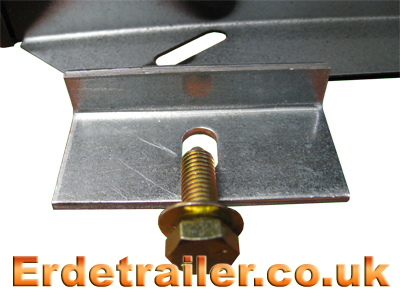
The mudguards mount onto pre-drilled holes in the side of the floor pan, located just above the wheels. On this model of trailer an extra bolt is fitted from the inside of the trailer, through the side panel and into a captive nut on the inside of the mud guard. A 13mm socket and extension is needed to reach these bolts.
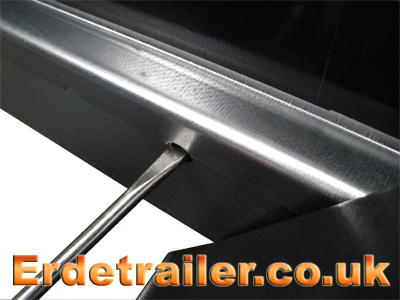
If you are having trouble with nuts and bolts not lining up, try using a screwdriver in the bolt hole to lever the panels into position. This is why most bolts should be left thumb tight until this stage.
14. Tighten all Bolts.
Start with the body panels and mud guards. Make sure all bolts are tight and these parts are secure.
To reach the axle, tipping bracket and drawbar bolts the trailer must be stood on end. Don’t worry about breaking the rear lights, they are recessed so the trailer can be stored this way.
To lift the trailer into this position it will require two people.
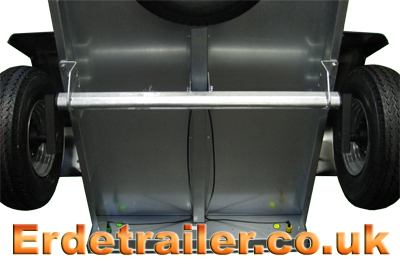
Tighten the axle bolts with a 17mm socket. You may also need a socket extension to reach past the wheels.
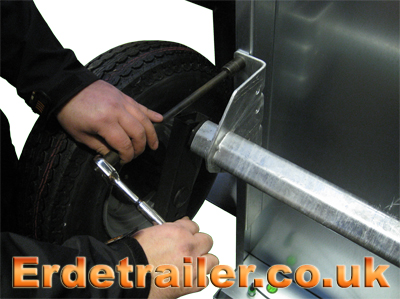
Tighten the drawbar bolt. This requires a 17mm socket and ring spanner.
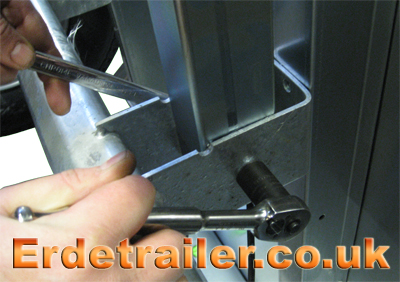
Make sure the tipping bracket is secure. If you have fitted a spare wheel holder you may not be able to use a ratchet in this small space. A 17mm ring spanner will work fine.
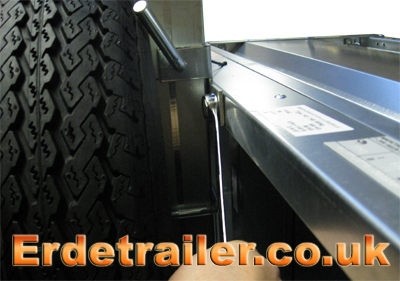
15. Attach reflectors.
The Erde 143 has large reflectors on stalks rather than small ones with peel-off sticky back adhesive. These are mounted on both front corners of the trailer into pre-drilled holes.
To attach the reflectors you will need a large punch and a hammer. Place the small plastic studs into the reflector and position the reflector in the correct place. With one firm punch, drive the plastic studs into the holes provided.
Again, remember to perform a thorough check of all nuts, bolts, wheels, bearings and lights after the first 60 miles. Vibrations can cause slackening of nuts and bolts in new trailers, so it is very important you perform this check.

To purchase Erde trailers and accessories please visit our main website:

